I don't know about your family but as soon as the snow hits the first thing we think about is making a snowman! I figured that a snowman craft was the perfect fit for this time of the year. The best part is we can use up some odds and ends laying around and upcycle a few things.
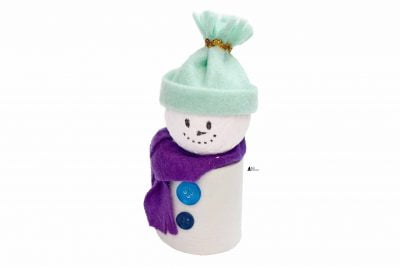
DIY Upcycled Snowman Craft
I try to limit the amount of garbage we create as a family but sometimes that is easier said than done. This DIY upcycled snowman craft will use those yogurt containers we all seem to have no use for. Let the crafting begin!
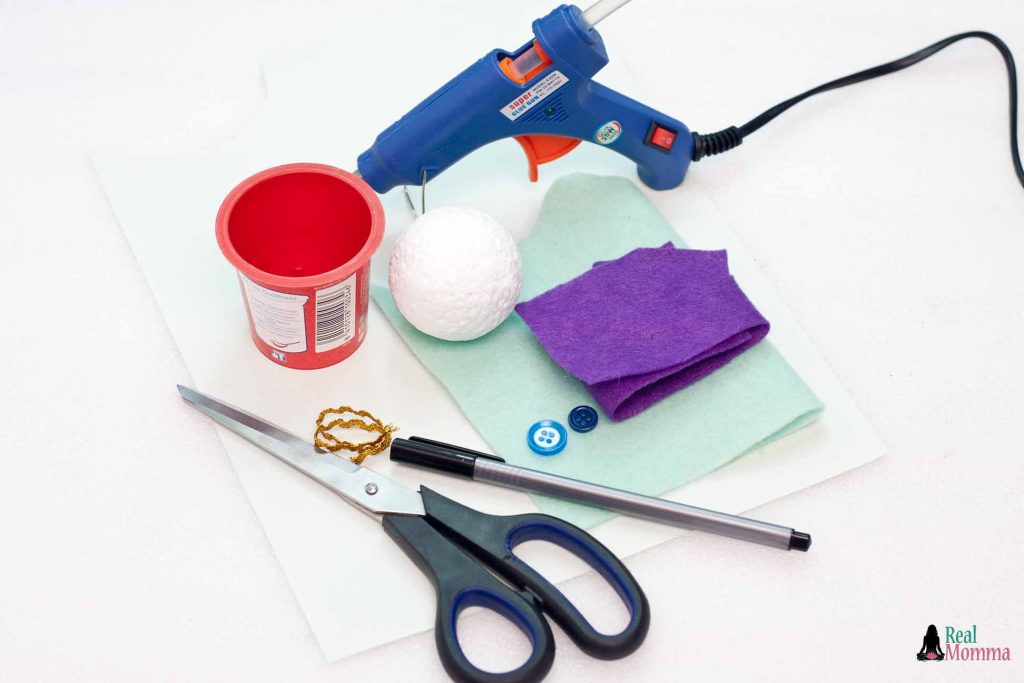
Prepare all materials needed for this exciting tutorial:
- an empty plastic yogurt cup, any will do but I like Yoplait
- a [easyazon_link keywords=”small styrofoam ball” locale=”US” tag=”reamom0b-20″]small styrofoam ball[/easyazon_link]
- 2 pcs of small to medium buttons
- 2 pcs soft crafting felt (any color would do)
- [easyazon_link identifier=”B003L264JA” locale=”US” tag=”reamom0b-20″]hot glue[/easyazon_link]
- a black pen
- a pair of scissors
- a thin metallic ribbon
- a piece of light colored construction paper

Step 1: Cut the flapping edge of the plastic yogurt’s mouth.

Step 2: Wrap the light colored construction paper around the walls of the plastic yogurt cup. Apply hot glue at the ends of the paper to permanently seal it to the cup.

Step 3: Cut the excess paper on the top and the bottom part of the cup.

Step 4: Cut a long strip of soft purple crafting felt. The length should be at least 10 to 15 centimeters and the width is at least 2 to 3 centimeters. This will be the snowman’s scarf.
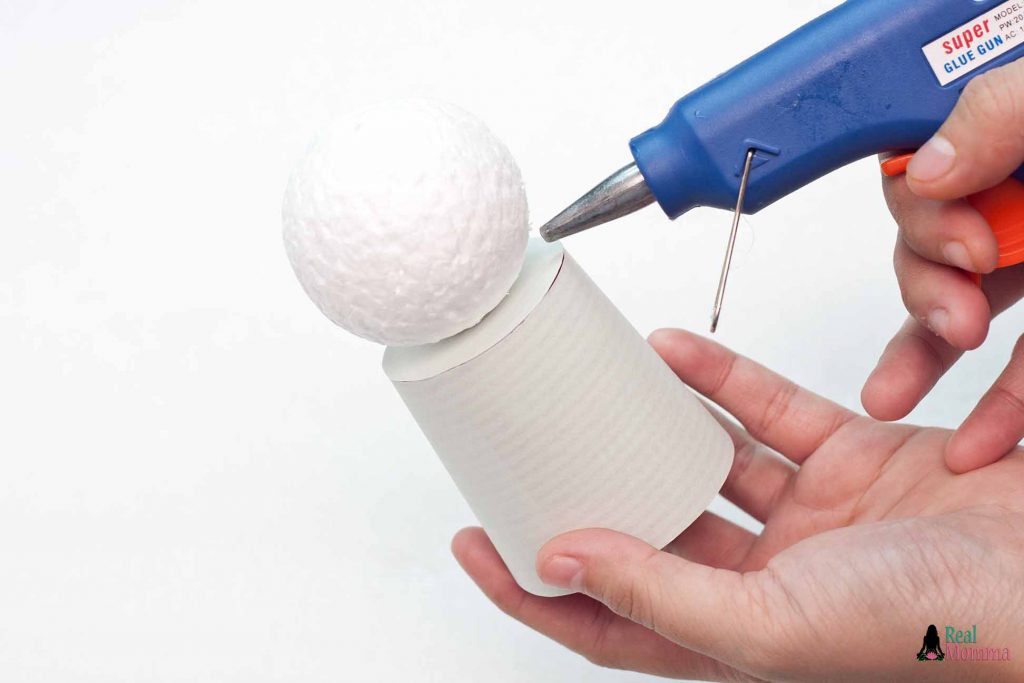
Step 5: Hot glue the [easyazon_link identifier=”B001685PEQ” locale=”US” tag=”reamom0b-20″]small styrofoam ball[/easyazon_link] on top of the plastic yogurt cup or the body of the snowman. This will be the snowman’s head.
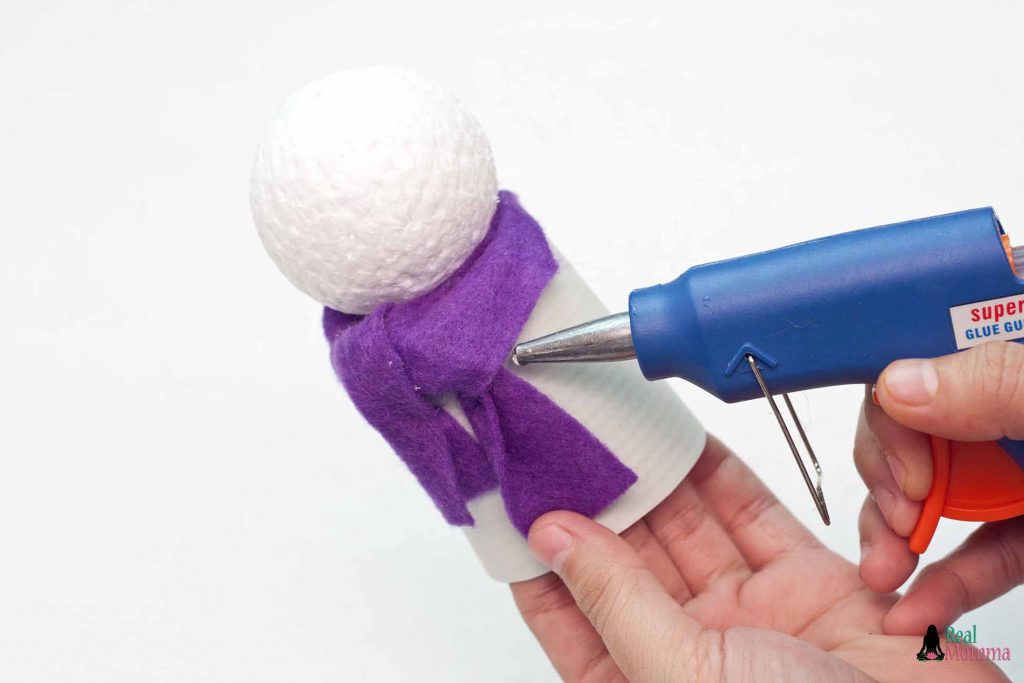
Step 6: Wrap the purple scarf around the neck of the snowman or in between the body and the head of the snowman. Hot glue the scarf to the body to permanently fix it.

Step 7: Hot glue the buttons in the middle of the snowman’s body.

Step 8: Add some details on the scarf by cutting the ends of it. Create small vertical cuts on the ends of the scarf.

Step 9: Make a small fold that is at least 1 centimeter in width and wrap the craft felt on top of the snowman’s head. This will be the snowman’s bonnet cap. Cut the excess craft felt. Meet the ends of the open bonnet and hot glue it.
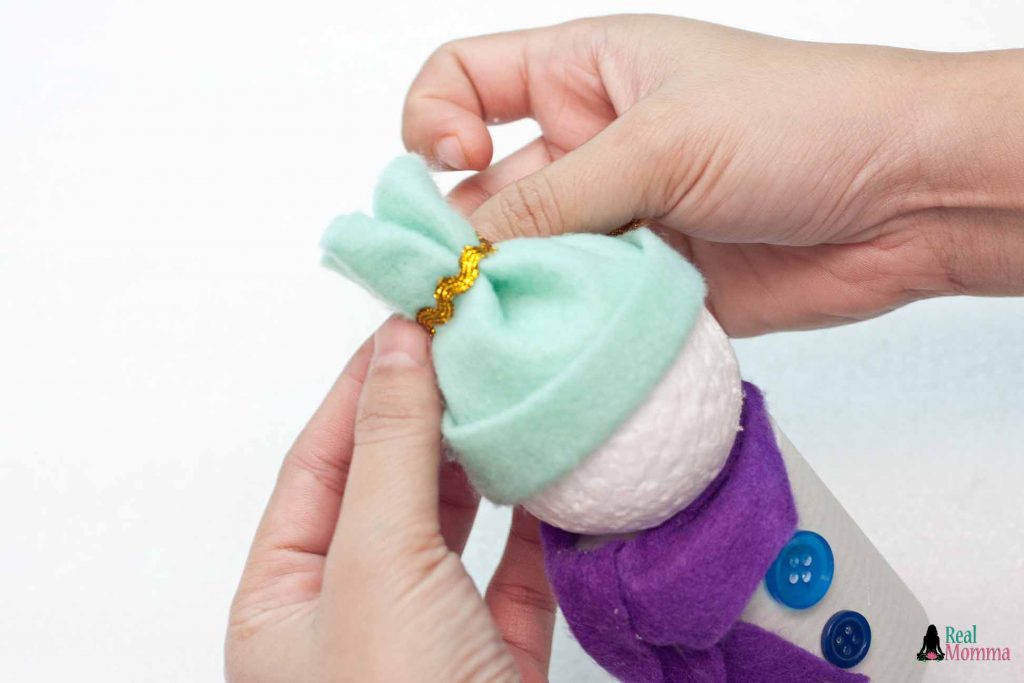
Step 10: Squeeze the open part of the bonnet and tie it together using a metallic ribbon.

Step 11: Add details to the bonnet by creating small vertical cuts above the metallic ribbon.

Step 12: Add details to the face of the snowman like the eyes, the nose and the sweet smile using a black pen.

Step 13: Tada! Finally done! Time to display the snowman for all to see 🙂
We love this DIY upcycled snowman craft it is a welcomed addition to our holiday decor. The fun part is you can customize it with any color scheme you like making it perfect for a centerpiece or to blend in with the rest of the decorations.
What colors are in your holiday decor?


1 Comment
Always looking for new crafts and these are too cute. They are so easy to make as well!